 English
 中文简体
中文简体 日本語
日本語 عربى
عربى русский
 Español
News
Xindi can provide customers with personalized, high-quality products and services to meet the needs of different markets and customers.
Content
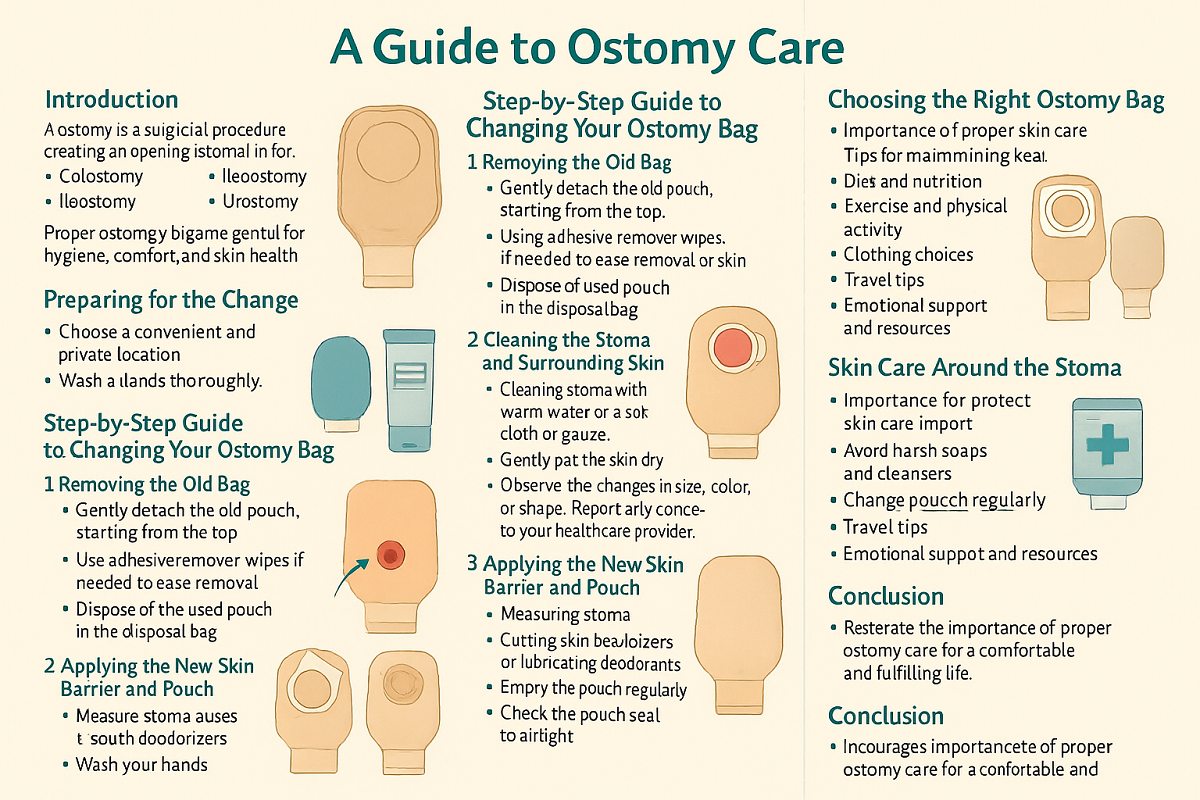
An ostomy is a surgically created opening in the abdomen that allows waste to leave the body when the digestive or urinary system is not functioning normally. Through this opening, called a stoma, waste is collected in an external pouching system, commonly known as an ostomy bag. These bags are essential for maintaining hygiene, protecting the skin, and giving individuals the ability to manage their condition with comfort and dignity.
There are different types of ostomies, each depending on where the stoma is created:
Regardless of the type, one key aspect of living with an ostomy is learning how to change the ostomy bag properly. Regular and correct bag changes are important not only for hygiene but also for preventing leaks, maintaining skin health around the stoma, and ensuring overall comfort. Proper care builds confidence and allows individuals to return to daily activities with greater ease.
Before changing an ostomy bag, it helps to have everything ready and organized. Preparation reduces stress, makes the process smoother, and ensures the stoma and surrounding skin are cared for properly.
Having all materials within reach prevents unnecessary interruptions. You will typically need:
Find a comfortable, private, and well-lit space where you can take your time. Many people prefer the bathroom because it offers privacy, a sink, and easy disposal.
Hand hygiene is one of the most important steps in preventing infection. Wash your hands with warm water and soap for at least 20 seconds before you begin.
By taking the time to prepare properly, you create a calm and clean environment for the bag change. This helps protect your skin, minimize complications, and make the process feel more routine and manageable.
Changing an ostomy bag may feel overwhelming at first, but with practice it becomes a straightforward routine. Follow these steps for a clean, safe, and comfortable change.
Use a stoma measuring guide to confirm the stoma size. This helps ensure a snug, comfortable fit.
If using a cut-to-fit wafer, trim it so that the opening is about 1–2 mm larger than the stoma.
For additional protection, apply ostomy paste or a barrier ring to the back of the wafer before placing it.
Remove the protective backing from the wafer and carefully center it over the stoma.
Press gently but firmly around the edges to create a smooth, secure seal without wrinkles.
Attach the new ostomy pouch:
Confirm that the pouch is secure and comfortable against your skin.
By following these steps carefully, you can complete an ostomy bag change efficiently while protecting your skin and ensuring comfort. With practice, the process will become quicker and feel more natural.
Not all ostomy pouches are the same. The right choice depends on your stoma type, lifestyle, and personal comfort. Understanding the available options can help you feel more confident and make daily management easier.
The best pouching system is the one that fits your body, protects your skin, and matches your lifestyle. Over time, you may try different types before finding the option that feels right for you.
The skin surrounding your stoma, known as peristomal skin, plays an important role in comfort and pouch adhesion. Keeping it healthy prevents irritation, leakage, and infection, making daily management easier and more comfortable.
When the skin is well cared for, the pouch sticks better, leaks are less likely, and discomfort is reduced. Neglecting skin health may lead to redness, soreness, or even open wounds, which can complicate pouch changes and lower confidence.
If irritation does not improve with routine care, or if you notice swelling, bleeding, unusual discharge, or persistent pain, consult your healthcare provider. An ostomy nurse or specialist can evaluate the issue, adjust your pouching system, and recommend treatments.
Healthy peristomal skin not only feels better but also helps your pouch work more effectively, giving you greater peace of mind in your daily activities.
Even with good care, challenges may arise when living with an ostomy. Knowing the common problems and their solutions can make pouch management less stressful and help you feel more in control.
Causes:
Solutions:
Causes:
Solutions:
Causes:
Solutions:
Causes:
Solutions:
By learning to recognize these issues early and applying the right solutions, you can prevent complications and maintain a more comfortable, confident lifestyle with an ostomy.
Adjusting to life with an ostomy involves more than just learning how to change a pouch. With the right habits and resources, you can maintain an active, comfortable, and fulfilling lifestyle.
Living with an ostomy requires some adjustments, but it does not limit your ability to enjoy daily activities, travel, work, or socialize. With preparation and support, you can regain independence and live confidently.
Living with an ostomy can feel like a big adjustment, but with the right knowledge and routine, it becomes a manageable part of daily life. Changing your ostomy bag properly is not only about hygiene—it is also about protecting your skin, maintaining comfort, and building confidence.
By preparing your supplies, following a step-by-step process, and caring for the skin around your stoma, you can reduce complications and keep your pouching system secure. Choosing the right type of bag, troubleshooting common issues, and adopting healthy lifestyle habits all contribute to a smoother experience.
Remember, you do not have to navigate this journey alone. Healthcare professionals, especially ostomy nurses, are valuable resources for guidance and personalized support. Ostomy support groups and communities can also provide encouragement, tips, and reassurance from people who share similar experiences.
With proper care and the right support, living with an ostomy does not mean giving up comfort or independence. Instead, it opens the door to a fulfilling and active life.
 Absorbent, Moisturizing And Non-Irritating Hydrocolloid Acne Patch
 Cushioning, Pressure Reducing, Breathable And Comfortable Heel Patch
 Soft Waterproof and Odor Control Ostomy Pouch
 Widely Used Waterproof And Dustproof Silicone Scar Sheets
 Hypoallergenic Breathable Waterproof Ear Patches
 Strong Adhesive And Drug-Free Anti-Snoring Patch
 Long-Lasting Mosquito Repellent, Safe And Gentle Mosquito Repellent Stickers
 Soothing And Anti-Itching, Mild And Hypoallergenic Soothing Sticker
 Invisible Non-Slip And Sweat-Proof Nipple Covers
 Portable Design And Reusable Ventilation Nose Strips
 Breathable Comfort Fit Swimming Private Patches
 Strong Adhesion Waterproof And Sweatproof Anti-Exposure Stickers
Copyright © 2024 by Wuxi Xindi Medical Technology Co., Ltd. All Rights Reserved.
medical adhesive tapes manufacturers